The "4 Weeks to Fill Your Freezer" e-book is now available! Click here for a special discount!
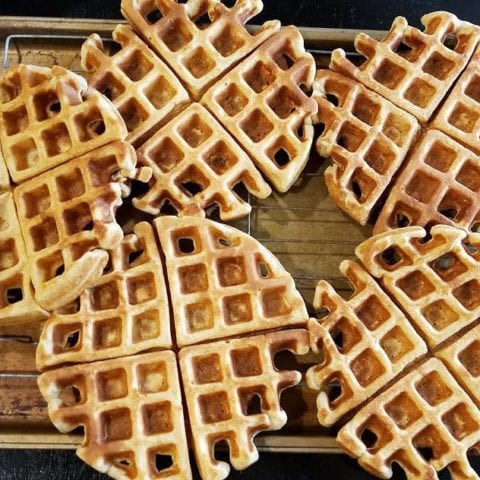
After I dropped off Allison at school this morning, I came home and got straight to work on these Whole Wheat Waffles! It took me about an hour to cook a double batch.
The only bad thing about making waffles is that it feels like they take forever to cook. However, I made myself be productive during the minute or so that each waffle cooks. And holy cow, you'd be surprised at what you can accomplish in one minute.
Here's what I did in the downtime:
- Washed dishes
- Cleaned the toaster oven
- Put in a load of laundry
- Organized our snack cabinet
It may not seem like much, but I try to take advantage of little pockets of time whenever I can. Plus, I listened to the Business Boutique podcast the entire time so I was doubly productive!
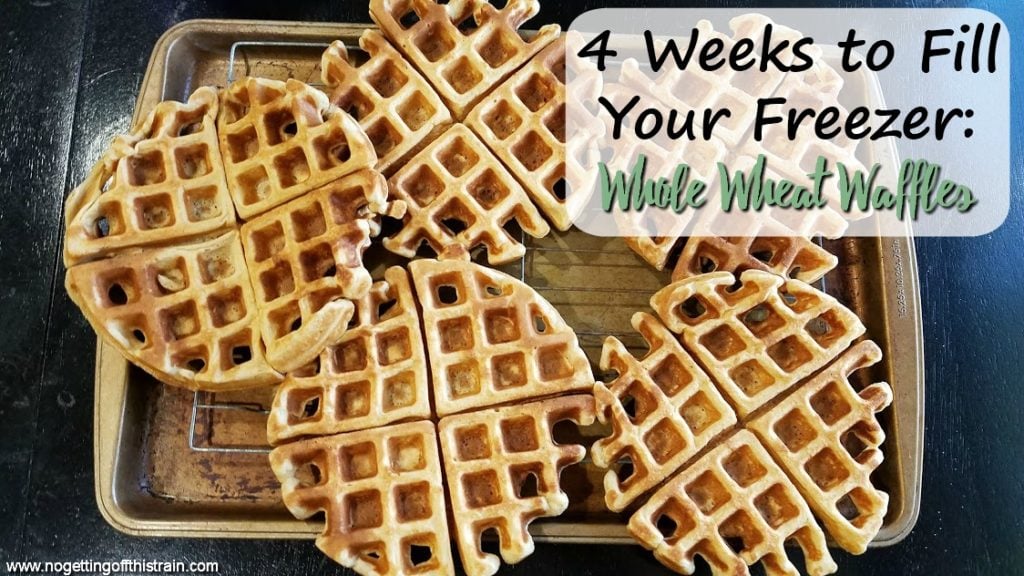
I placed each waffle on a cooling rack as they finished cooking and ended up with 14 waffles. And I was able to carefully set all three cooling racks on top of each other in the freezer. Once they froze completely, I put them into two freezer bags.
When it's time to eat them, I'll put one still frozen in our toaster oven. A regular toaster would work too. Either way, they'll both turn out crunchy, as if they were freshly made.
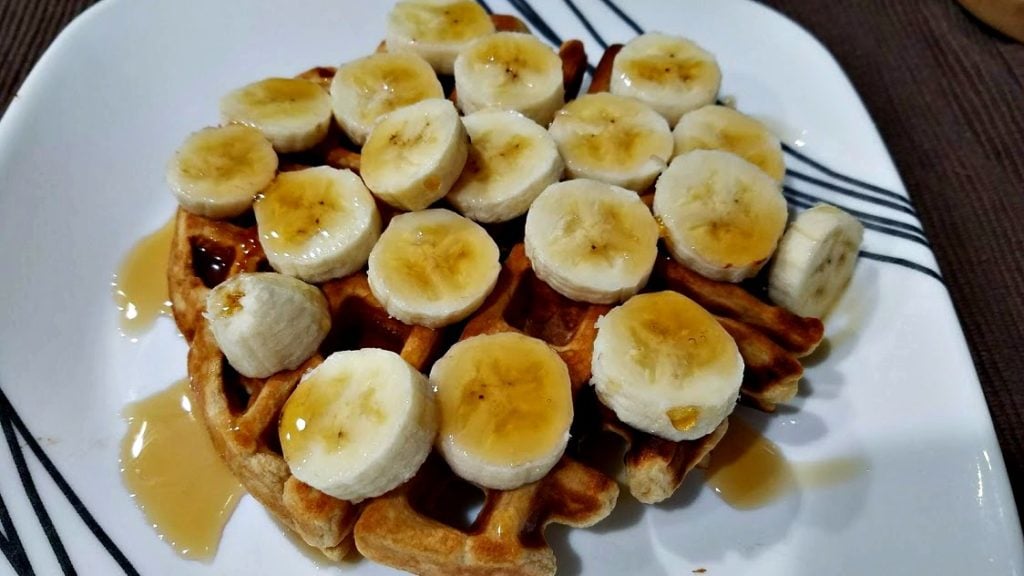
We usually put maple syrup on top of ours; I also like adding any kind of sliced fruit. Usually bananas, but I'm also a big fan of strawberries.
Note that the recipe below is only for a single batch, so make sure you double the recipe if you bought the ingredients!
Whole Wheat Waffles
Ingredients
- 2 cups whole wheat or white whole wheat flour
- 1 tablespoon sugar
- 4 teaspoons baking powder
- ¼ teaspoon salt
- 1 ¾ cup milk
- 2 eggs
- ½ cup applesauce
- ½ teaspoon vanilla
Instructions
- Add all dry ingredients to a large bowl and stir.
- Add the wet ingredients and mix until combined.
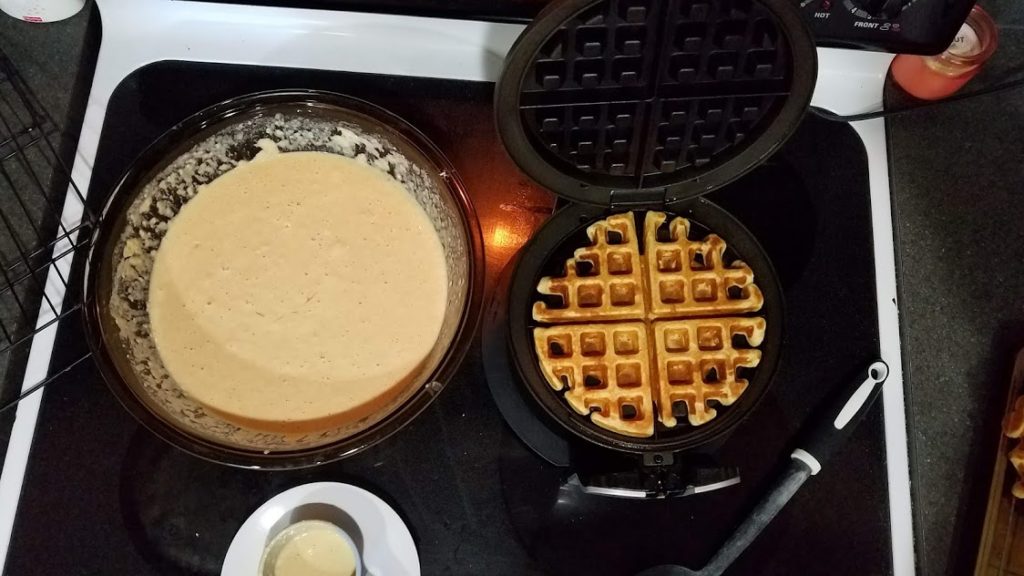
- Using a half cup, pour the mix into a greased waffle iron and cook according to your waffle maker's instructions.
Notes
Adapted from Real Life Dinner.
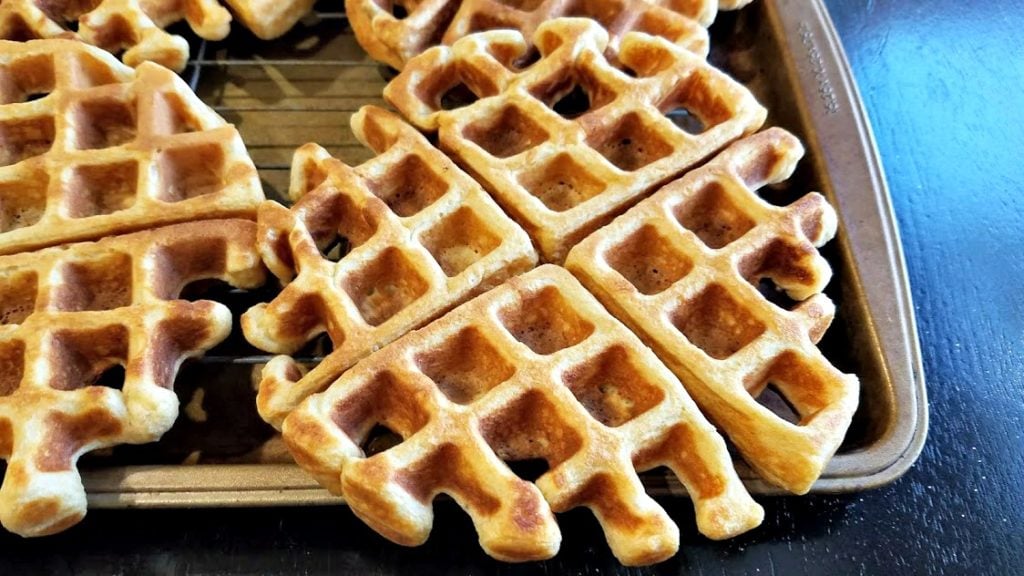
To freeze, place waffles in a single layer on a cooling rack, then place in the freezer. Once they're completely frozen, transfer them to a freezer bag.
Other Posts in "4 Weeks to Fill Your Freezer" Series
-4 Weeks to Fill Your Freezer Week 1- Breakfast
-Whole Wheat Waffles (Day 1)
-Banana Bread Baked Oatmeal (Day 2)
-Breakfast Burrito Packs (Day 3)
-Morning Glory Muffins (Day 4)
-Healthy Breakfast Sausage Balls (Day 5)
-4 Weeks to Fill Your Freezer Challenge Week 2- Lunch
-Freezer Ham and Cheese Pockets (Day 6)
-Slow Cooker Mexican Burritos (Day 7)
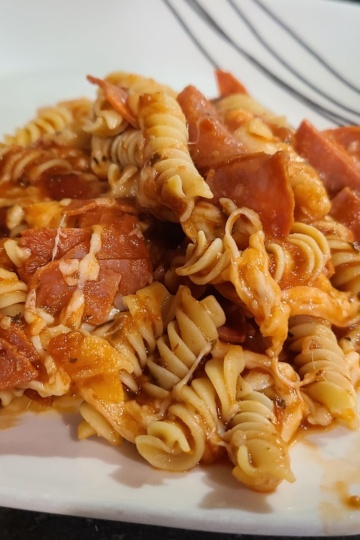
-Pepperoni Pizza Pockets (Day 8)
-Santa Fe Chicken Frozen Lunches (Day 9)
-Cream Cheese Chicken Chimichangas (Day 10)
-4 Weeks to Fill Your Freezer Week 3- Dinner
-Freezer Friendly Baked Penne (Day 11)
-Turkey Chili (Day 12)
-Freezer Sloppy Joes (Day 13)
-Slow Cooker Chicken Fajitas (Day 14)
-Red Chicken Enchiladas (Day 15)
-4 Weeks to Fill Your Freezer Week 4- Snacks/Dessert
-Peanut Butter Energy Bites (Day 16)
-Cinnamon Banana Muffins (Day 17)
-Pumpkin Chocolate Chip Bread (Day 18)
-Freezer Chocolate Chip Cookies (Day 19)
-Carrot Cake Cookies (Day 20)

Jaime is a Nutrition Coach through the ISSA and professional writer. She has 4 years experience coaching and 9 years experience in writing. She enjoys cooking easy meals, running, and learning more about food.
Jaime specializes in helping women with ADHD learn to meal plan and cook healthier meals without getting overwhelmed.


Is this recipe already doubled or do I double the recipe?
The recipe is not doubled, so you'll need to double it if you want more. =)