
Do you have a long road trip coming up with your kids? Road trip boredom is legit; and as a mom of a 4 year-old, I can assure you that you'll need lots of entertainment. Allison's now gotten into the LEGO craze, so I thought I'd try my hand at a LEGO travel kit! It's small, highly portable, and pretty cheap to make. And since we're about to embark on a 14-hour road trip, I knew this would be awesome to keep her entertained and away from movies for a short while.

What you need for your LEGO Travel Kit:
- LEGO baseplate
- Metal lunch box (I got mine at Dollar Tree)
- One sheet of felt (Just a standard 8 ½ x 11 piece)
- Measuring tape
- Super glue
- Permanent mounting tape
- Scissors
- Exacto knife

1.) Take careful measurements of the lid of the lunch box, where you'll secure the LEGO base. It's good to measure just slightly smaller than the lid; do you see the tiny lines of the rectangle inside the lid? If you can make the LEGO base as big as that, you'll run a lesser risk of not being able to close the lid once the base is secured.
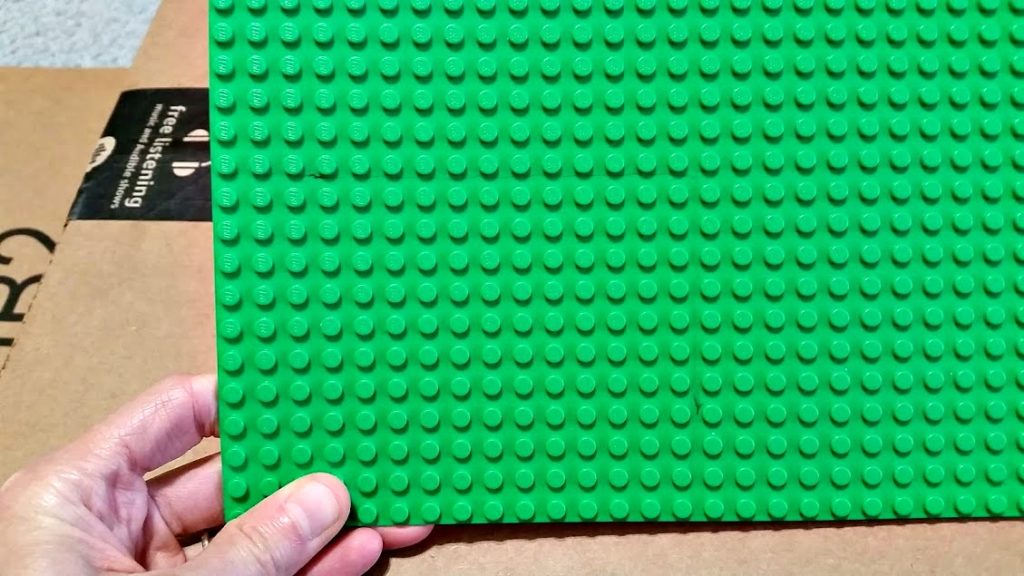
2.) Using those same measurements, make a couple of marks on the LEGO base where you'll cut straight lines with the knife. Very carefully cut straight lines along those marks- I placed my base on cardboard to help cut, but a sturdier surface might work better. I was having trouble cutting all the way through with the knife; what ended up working for me was making shallow cuts and then actually bending and snapping the small piece off the base. I then used the knife to smooth the edges.

3.) Cut the correct lengths of permanent mounting tape and stick them to the back of the LEGO base. Peel the rest of the backings and carefully place the base in the correct spot on the lid. It actually sticks really well; I haven't had problems with it coming off.
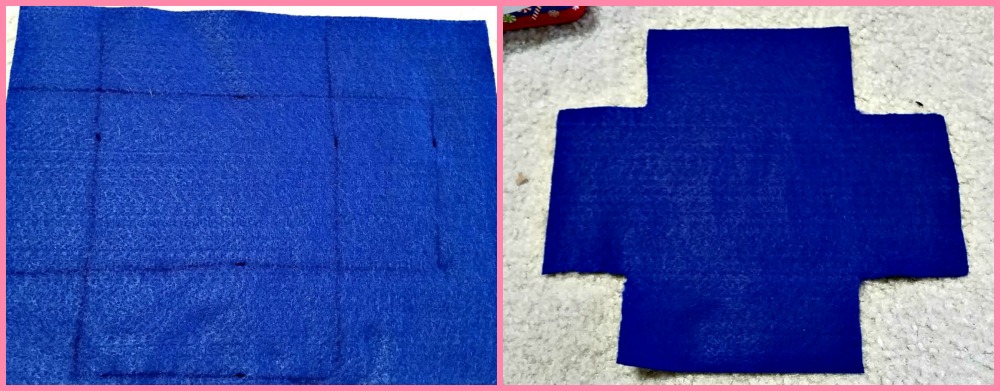
4.) Measure and cut the fabric. This part was the hardest for me. Here's what you'll need to do:
- Measure the length of the bottom of the lunchbox, then the length of the sides, then add them all together. For example, the bottom of my lunchbox was 5 inches long; and the two sides were 2 ½ inches tall. So the entire length of that side would be 10 inches.
- Do the same with the width. My lunchbox bottom was 4 inches wide, and the two sides were 2 ½ inches tall. The entire width was 9 inches.
So as you can see from the picture, I basically drew an outline of the entire lunchbox. Just cut around the edges and you have what looks like a giant plus sign. Fit the fabric inside the box to see how well it fits; you may need to trim off the tops and some of the edges to make it fit properly.
5.) Carefully apply superglue to the bottom of the lunchbox, then place the felt inside, smoothing it down. The superglue dries really fast, so make sure you get it right. Then apply superglue to the inside, one edge at a time, making sure the felt aligns properly. If you trimmed the felt first, this part should be pretty easy.

Once it's done, it should look like this! As you can see, I trimmed off a little too much on the inside and you can see part of the metal lunchbox; but it works.

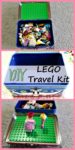
Now Allison has a cute LEGO travel kit to take with her on long road trips, or if we go somewhere and she needs to sit quietly. I gotta say I'm super proud that I was able to do this; I'm not very crafty at all, but this was pretty easy to do. With about an hour of your time, you can make a LEGO travel kit of your own!
Have you created one of these before? Post your pictures in the comments; I'd love to see them!

Jaime is a Nutrition Coach through the ISSA and professional writer. She has 4 years experience coaching and 9 years experience in writing. She enjoys cooking easy meals, running, and learning more about food.
Jaime specializes in helping women with ADHD learn to meal plan and cook healthier meals without getting overwhelmed.


One Comment